


- VSCodeのインストール
- Ubuntu(Linux環境)インストール
- WSLとの接続
- GitHub設定
- 設定でAuto SaveをafterDelay
- プラグインの導入
VSCodeのインストール
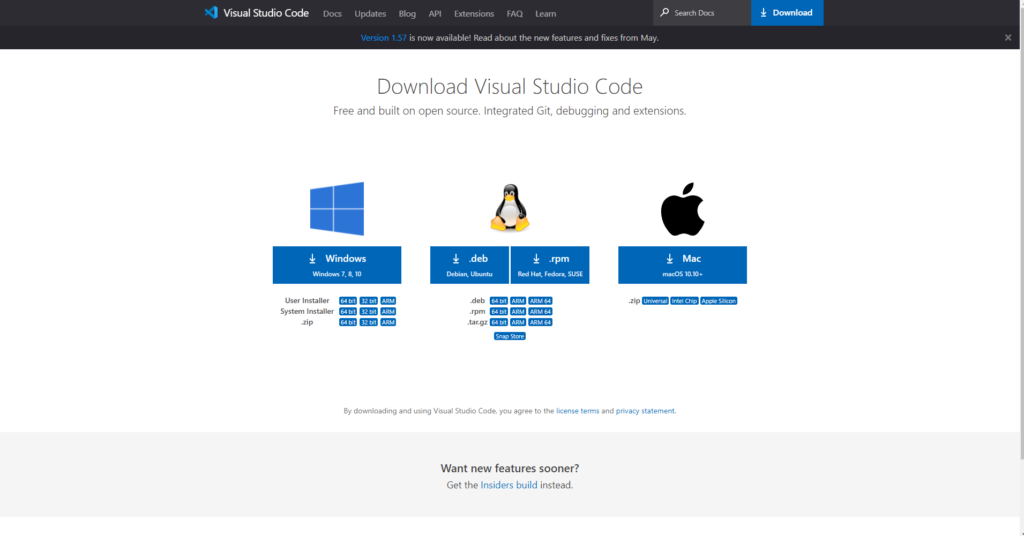
Linux環境構築
windows機能の有効化
windowsの機能からLinux用Windowsサブシステムにチェックを入れます。
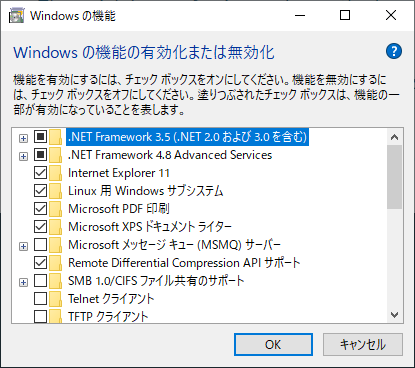
コマンドラインからインストールすることもできます。
wsl --installdism.exe /online /enable-feature /featurename:VirtualMachinePlatform /all /norestartLinux カーネル更新プログラム パッケージをダウンロードする
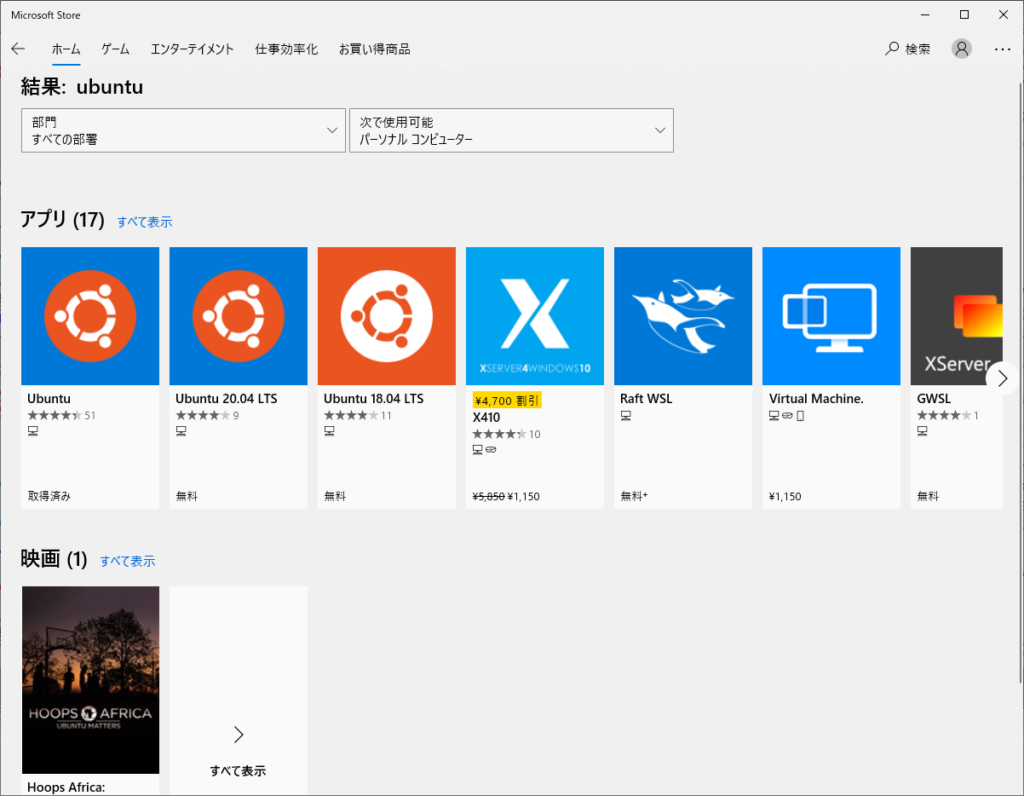
Ubuntuインストール
Microsoft storeからUbuntuをインストールします。
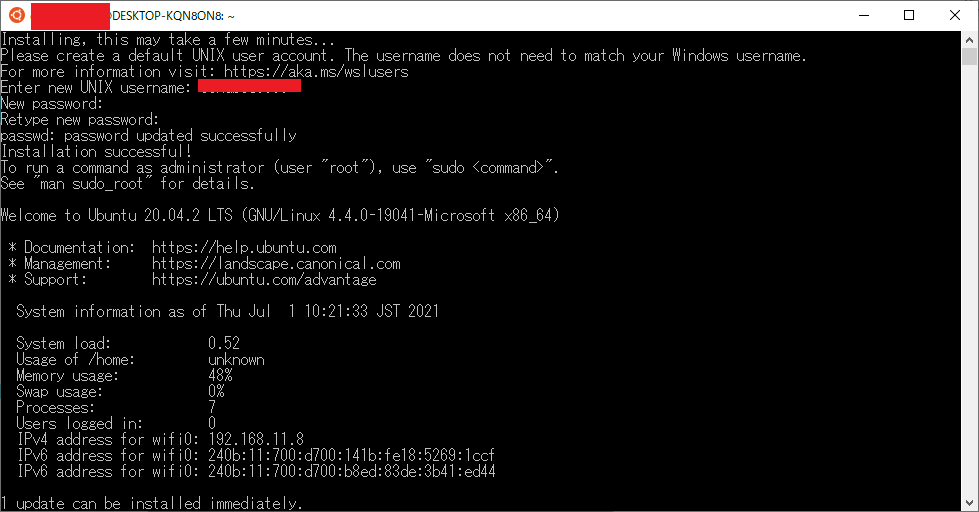
ユーザー名とパスワードを入力します。
WSL2を規定のバージョンとして設定する
wsl --set-default-version 2WSLとの接続
WSLとはWindows上でLinuxを動かすための機能
Microsoft製のIDEであるVScodeにRemote Developmentという機能が追加されたことでVScodeを使ってWSLで開発できるようになりました。
- Remote Development
- Remote – WSL
をVSCodeでインストールして
WSL2
表示>コマンドパレットからWSLを入力しRemote-WSL:New WSL Window using Distroを選択
Ububtuが表示されるので選択
この表示が出ていればリモートでWSLに接続できているということです。
これでWindows側からVScodeを使って開発ができるようになりました
GitHub設定
VSCodeのターミナルにおいて
git config --global user.name "GitHubアカウント"
git config --global user.email "メールアドレス"
リポジトリ作成
画面右上のNew repositoryから新しいリポジトリを作成し、create a new repository on the command lineのコマンドをコピーしVSCodeのターミナルに張り付ける。
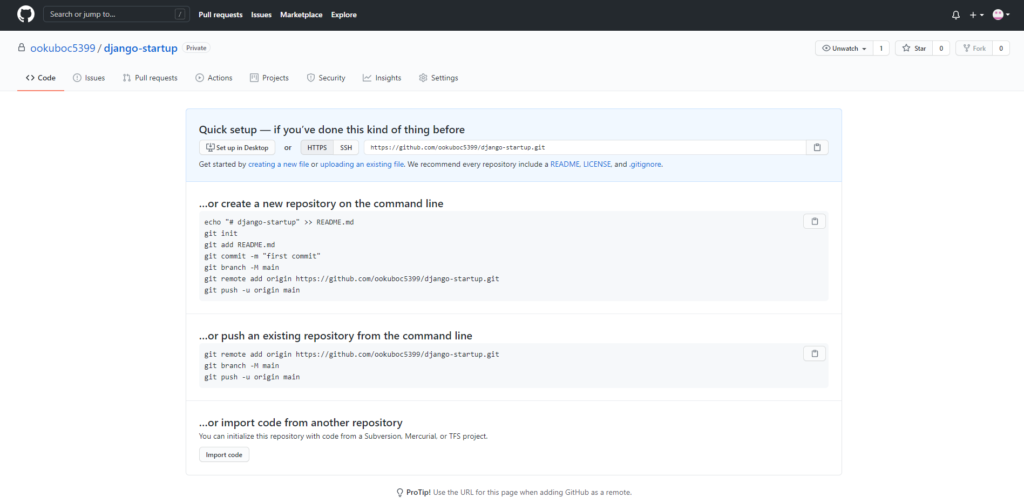
ソース管理→commit→チェックマーク→でVSCodeで変更した内容がGitHubに登録されていることが分かります。
プラグインの導入
日本語設定
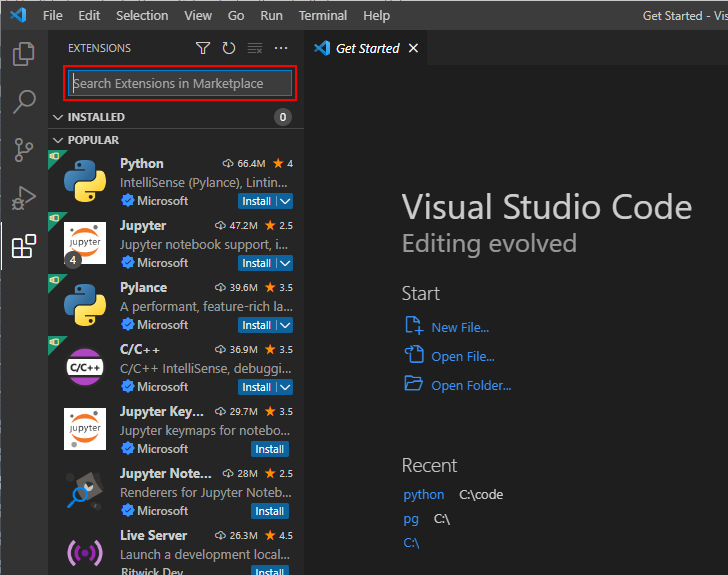
サイドバーの「Extensions」の検索ボックスから、「Japanese Language Pack」と検索してください。
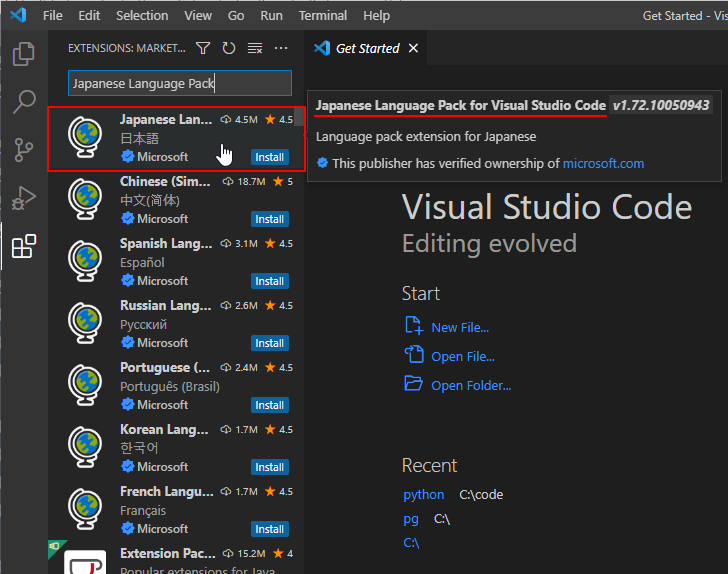
表示された Extensions の一覧の中から「Japanese Language Pack for Visual Studio Code」を選択し、インストールします。
インストールが完了したら再起動を行います。完了後に画面右下に「Restart」と表示されるのでクリックしてください。
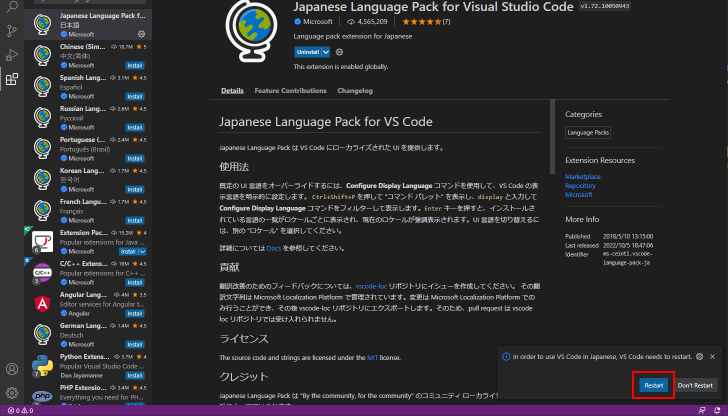
再起動後、日本語表記になっていると思います。
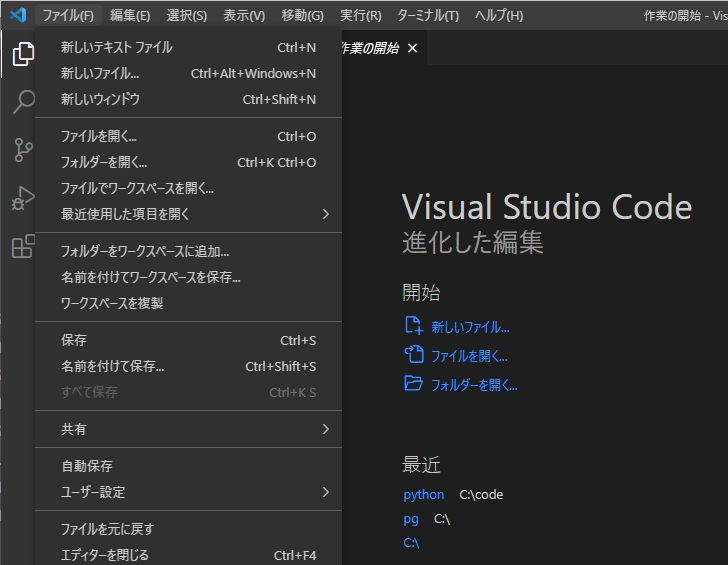
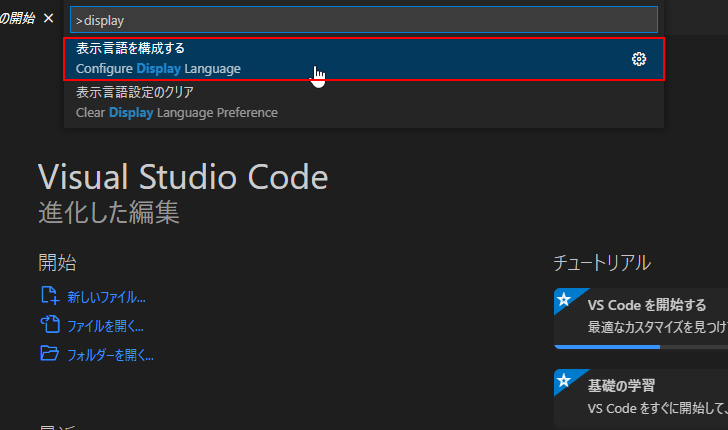
「表示」 メニューの中の 「コマンドパレット」 メニューをクリックしてコマンドパレットを表示します。
コマンドパレットで display と入力してください。「表示言語を構成する(Configure Display Language)」をクリックし、表示された言語の中から「日本語」を選択します。
その他
ファイル名がグレー
git等のソース管理の対象外になっている